
Load a 20 yard dumpster: How to Load a 20 Yard Dumpster Right During a Remodel
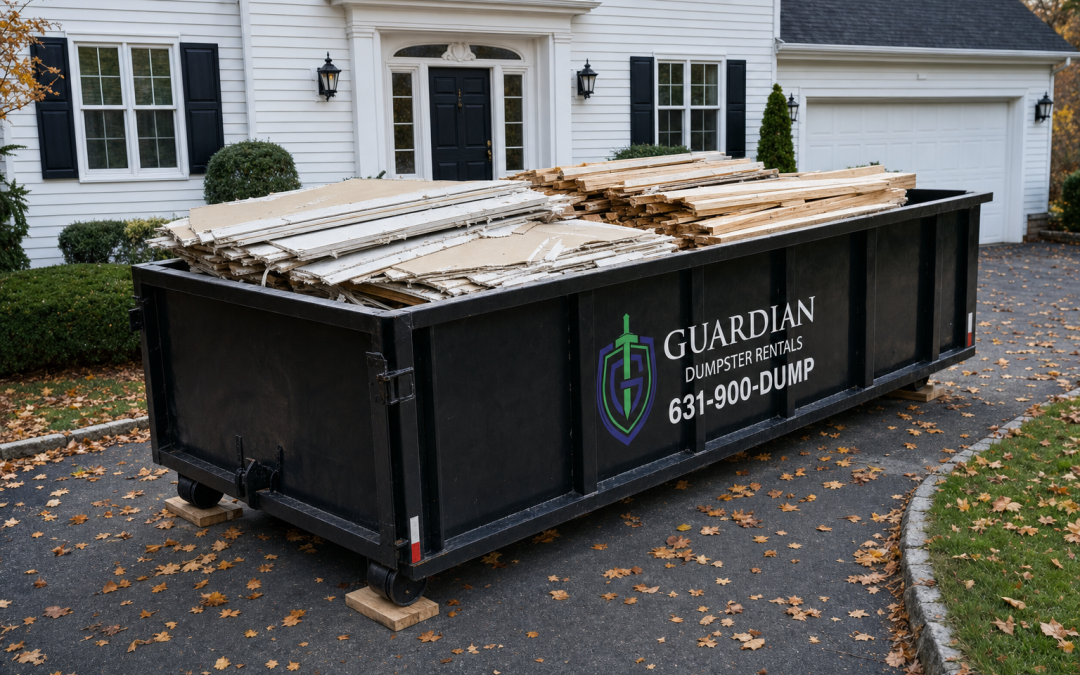
Why Smart Loading Saves NY Remodelers Real Money When You Load a 20 Yard Dumpster
When you load a 20 yard dumpster carelessly, you can waste 20-30% of its usable capacity—and that wasted space almost always turns into overage fees or a second haul you didn’t budget for. Both outcomes are preventable with technique, not luck: breaking down debris, layering it strategically, and keeping the load level.
Key takeaways
- Break down bulky debris like cabinets, drywall, and framing before tossing it so a 20 yard dumpster holds far more usable volume.
- Load heavy materials like tile, plaster, and concrete first and spread them evenly to stay under weight limits and avoid overage fees.
- Keep all debris level with or below the dumpster's top rail — overfilled containers can be refused at pickup or trigger extra charges.
- Fill gaps as you go by nesting smaller debris into voids, which can prevent the cost of a second haul on a typical remodel.
- Confirm your rental's included weight allowance up front, since exceeding it is the most common source of surprise fees.
Think of the container like a moving truck. Two people can pack the same truck and one fits everything while the other leaves half a room behind. A 20 yard container works the same way. Toss in whole cabinets, intact drywall sheets, and awkward vanities as-is, and you trap air pockets everywhere. Air doesn’t cost you anything at the curb, but it costs plenty when the dumpster “fills up” with a third of your demolition debris still sitting in the driveway.
The Two Ways Poor Loading Hits Your Wallet
- Overage fees: Debris piled above the fill line can’t legally be hauled on New York roads, so the driver either refuses the pickup or you pay to have the excess handled. Heavy materials loaded all on one end can also push you past weight limits even when the container looks half empty.
- A second haul: If bulky, unbroken items eat your space early, you end up ordering another container or another swap-out. That’s a full extra rental and haul fee to move material that would have fit the first time.
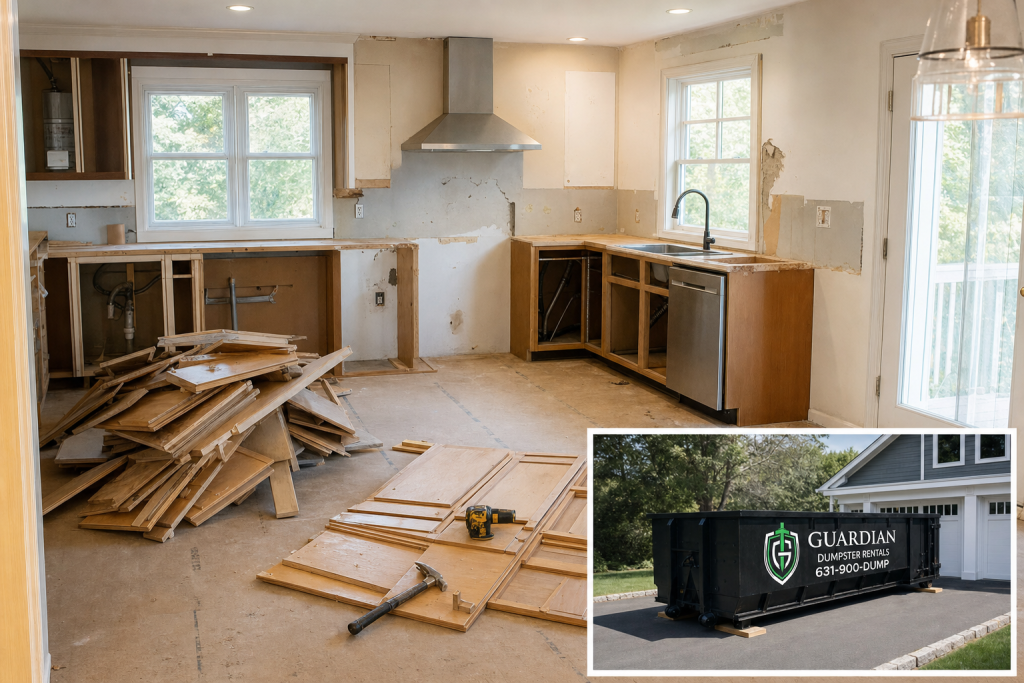
For a typical kitchen or bathroom remodel, a well-packed 20 yard dumpster rental in West Babylon comfortably handles the cabinets, countertops, flooring, drywall, and fixtures from the job—provided the debris goes in flat and dense rather than jumbled.
Why This Matters More During a Remodel Than a Cleanout
Remodeling debris is uniquely awkward. It’s a mix of heavy, dense material (tile, plaster, countertops) and bulky, hollow material (cabinets, doors, tubs). If the bulky items go in first and whole, they create a false floor that the heavy debris can’t settle around. Homeowners doing their first renovation hit this problem constantly, and it’s the number one reason a container that should have been plenty ends up overflowing.
The good news is that every fix is simple: break things down before they go in, load heavy and flat material first, and distribute weight evenly across the container. Local haulers who handle dumpster rental in West Islip, New York and surrounding Suffolk County towns see the difference every day: two identical remodels, and the crew that loads smart pays the quoted price while the other pays for their mistakes.
The sections below walk through exactly how to do it—what to break down, what order to load in, and the fall-specific mistakes that catch New York crews off guard.
How Do You Load a 20 Yard Dumpster the Right Way?
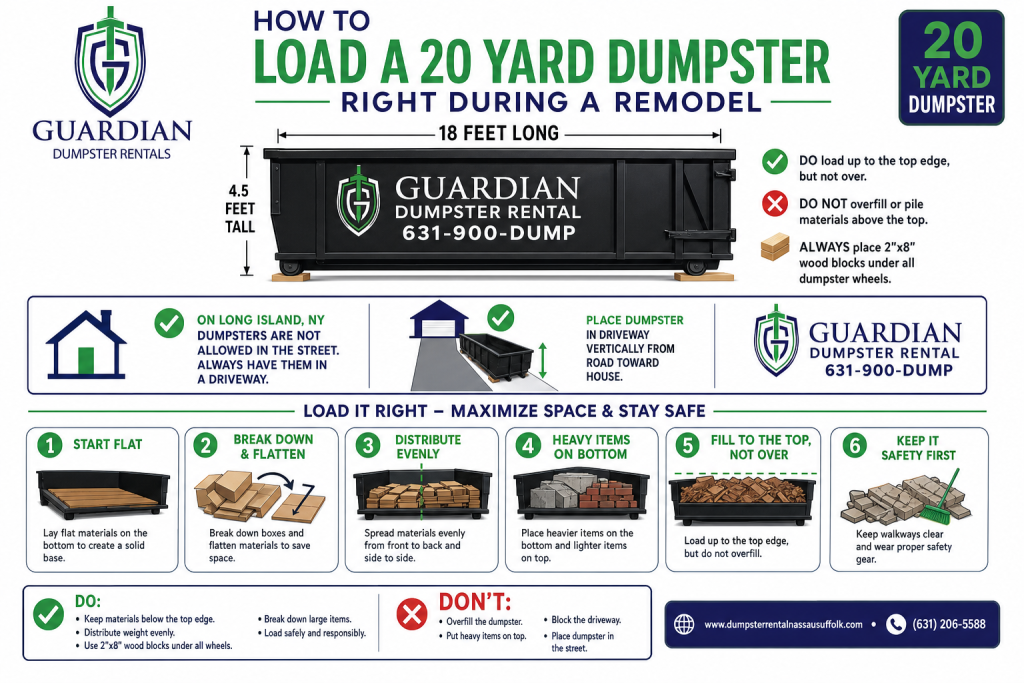
To load a 20 yard dumpster correctly, place flat and heavy items on the floor first, layer debris tightly like a puzzle instead of tossing it in, fill gaps with small material, keep weight balanced from front to back, and never stack anything above the container’s fill line.
That’s the short version. Here’s how each step plays out on a real remodel, where the difference between a well-packed container and a sloppy one can mean fitting the whole job in one haul instead of two.
Start Flat and Heavy on the Bottom
Old doors, sheets of plywood, countertops, and broken-down cabinets go in first, laid flat across the floor of the container. This creates a stable base and prevents awkward items from creating dead space later. Heavy, dense debris—tile, plaster, small amounts of concrete—also belongs low, where it won’t crush lighter material or shift when the truck lifts the box. If you’re planning a kitchen or bath tear-out, a 20 yard dumpster rental in Commack gives you enough floor area to lay that base layer out properly instead of piling everything in one corner.
Layer Like a Puzzle, Not a Toss
The single biggest mistake homeowners make is throwing debris over the wall from one spot. Tossed material lands at random angles and traps air pockets, and a container loaded that way often hits “full” at 60–70% of its actual capacity. Instead, walk debris in through the swing door when you can, and place each piece deliberately:
- Nest bulky items — set drawers inside cabinet boxes, sinks inside vanities.
- Lay lumber parallel — boards stacked the same direction pack far tighter than a crisscross pile.
- Fill voids as you go — pour or tuck small debris like tile shards, insulation scraps, and drywall chunks into the gaps between larger pieces.
Balance the Weight Front to Back
All the heavy material piled at one end makes the container difficult and unsafe to lift onto the truck. Distribute dense debris evenly along the length of the box as you load. Crews working out of a 20 yard dumpster rental in West Babylon or anywhere else on Long Island follow the same rule: if you can see an obvious lean or one-sided mound, redistribute before you keep loading.
Respect the Fill Line
Every roll-off has a marked fill line, and nothing should sit above it. Drivers are legally required to tarp the load, and material sticking over the rim can’t be hauled safely. If you’re approaching the line with debris still on site, stop and repack—pulling out a few tossed items and re-layering them usually recovers more room than you’d expect.
How Should You Break Down Remodeling Debris Before It Goes In?
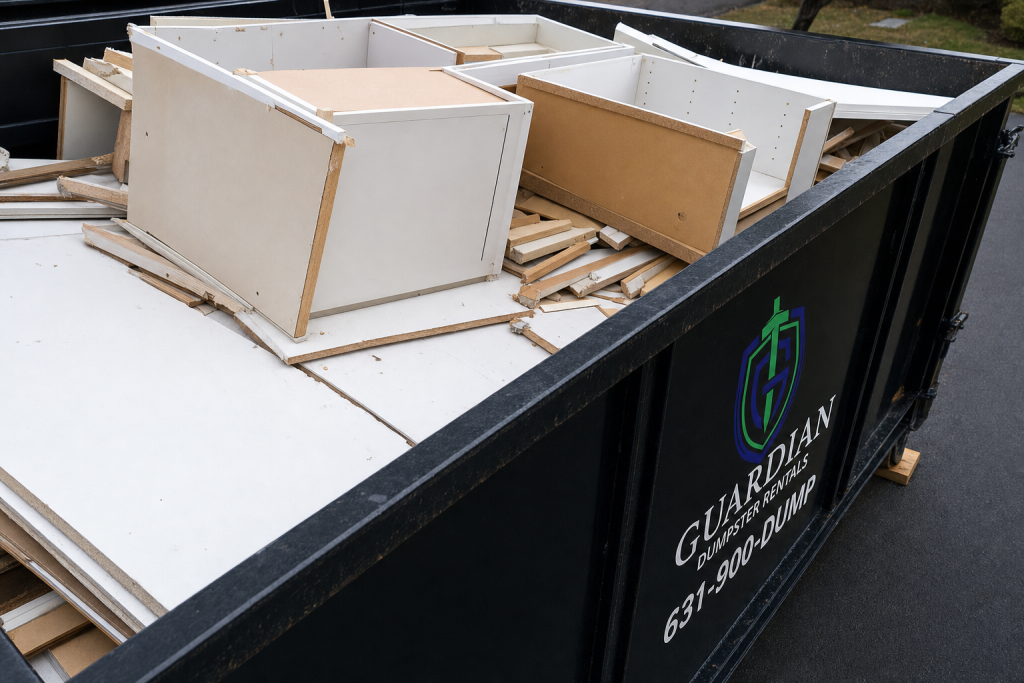
Break remodeling debris down before it hits the container: score and snap drywall into flat sections, disassemble cabinets and vanities into panels, cut lumber to four-foot lengths or shorter, flatten every box, and remove doors from appliances. Flat, compact pieces nest together instead of tenting, which can nearly double how much fits in the same dumpster.
The enemy of an efficiently packed container is “tenting”—when awkward, rigid shapes lean against each other and trap dead air underneath. A whole cabinet or an intact appliance can block off several cubic feet of space you already paid for. Ten or fifteen minutes with a utility knife, a drill, and a saw is the cheapest capacity upgrade you’ll ever get.
Drywall: Score, Snap, Stack
Full sheets and large broken panels are the easiest win. Score one face with a utility knife, snap the sheet over your knee or a sawhorse, and slice the paper backing. Aim for pieces roughly two to four feet across, then stack them flat like plates. Stacked drywall forms a dense, level base layer that other debris can sit on without shifting.
Cabinets, Vanities, and Built-Ins
Never toss a cabinet in whole. Pull the doors and drawers first, back out the screws holding the face frame, and knock the box apart into individual panels—a drill and a rubber mallet handle most of it. What was a bulky three-dimensional box becomes a tidy stack of flat boards. Homeowners planning a kitchen tear-out often book a 20 yard dumpster rental in West Babylon assuming cabinets go in as-is, then run out of room halfway through demo day.
Lumber, Trim, and Framing
- Cut long stock down. Studs, joists, and trim cut to four feet or less lie flat instead of spanning the container diagonally.
- Bend or hammer down protruding nails so boards stack tight and nobody gets snagged reaching in.
- Bundle trim and small offcuts so they can be slid into gaps between larger debris rather than scattered on top.
Boxes, Packaging, and Appliances
Flatten every cardboard box—new fixtures and cabinets arrive in a surprising volume of packaging, and intact boxes are almost pure air. For old appliances, remove the doors from refrigerators, ovens, and dishwashers before loading. It’s a safety requirement with many haulers, and a doorless appliance shell can be filled with loose debris instead of wasting its interior space. If you’re weighing container options for a project like this, talking through your debris list with a local provider of dumpster rental in Commack New York helps confirm what breakdown steps they expect on their end.
The rule of thumb: if a piece has empty space inside it or can’t lie flat, break it down before it goes over the rail.
Is a 20 Yard Dumpster the Right Size to Load a 20 Yard Dumpster’s Worth of Remodel Debris—or Do You Need a 10 or 30?
A 20 yard dumpster is the sweet spot for most full kitchen or bathroom guts, holding roughly six to eight pickup-truck loads of debris. A 10 yard fits smaller single-room jobs, while a 30 yard suits whole-home remodels or projects producing bulky, lightweight material like cabinetry, framing, and drywall in volume.
Choosing the right container before demo day matters just as much as how you load a 20 yard dumpster once it arrives. Sizing correctly means you fill the box efficiently without paying for air—or worse, running out of room mid-project and ordering a second haul.
Quick Container Size Comparison
| Size | Approx. Capacity | Typical Remodel Projects |
|---|---|---|
| 10 Yard | 3–4 pickup loads | Small bathroom refresh, flooring removal in 1–2 rooms, single-room drywall tear-out, countertop and cabinet swap |
| 20 Yard | 6–8 pickup loads | Full kitchen gut, large bathroom demo, deck removal, roofing tear-off on smaller homes, basement finishing debris |
| 30 Yard | 9–12 pickup loads | Whole-home remodel, major addition, multi-room gut with cabinetry and framing, large estate cleanouts during renovation |
When a Kitchen or Bath Gut Justifies Sizing Up
Homeowners routinely underestimate how much volume a gut renovation produces. Cabinets, vanities, and tub surrounds are deceptively bulky—they take up serious space even when broken down. Use these signals to decide:
- Full kitchen gut: Cabinets, countertops, appliances going out, plus subfloor or drywall? That’s 20 yard territory, not 10.
- Bathroom demo with tile: Tile and mortar bed debris is heavy. A 10 yard can work for one bathroom, but two bathrooms or tile plus a tub usually calls for a 20.
- Multiple rooms at once: If demo touches three or more rooms, or you’re removing framing, a 30 yard often costs less than two smaller hauls.
- Heavy material limits: Concrete, plaster, and tile can hit weight limits before the box looks full—sometimes a smaller container loaded with dense debris is the smarter call. Ask your hauler about weight allowances by size.
If your project is a modest one—say, pulling flooring and a vanity from a single bath—a 10 yard dumpster rental in Dix Hills keeps costs down and fits tighter driveways common in older Long Island neighborhoods.
For the classic full kitchen or bath gut, a 20 yard dumpster rental near Amityville gives you enough room to demo in one continuous push without pausing to schedule a swap-out. When in doubt between two sizes, size up—the price gap between containers is almost always smaller than the cost of a second delivery.
What Causes Overage Fees—and How Do Contractors Avoid Them When They Load a 20 Yard Dumpster?
Overage fees happen when a dumpster exceeds its included weight allowance, is filled above the marked fill line, or contains prohibited materials like brick, concrete, dirt, or yard waste. Contractors avoid them by staging debris before loading, keeping heavy material to a fraction of the box, and scheduling pickups before the container gets overloaded.
Every 20 yard container comes with two limits, and it’s easy to blow past one without touching the other. The first is the fill line—usually marked on the inside walls. Anything sticking above the rim can make the load unsafe to tarp and transport, and the driver is within their rights to refuse the pickup or ask you to offload material before hauling. The second is the weight allowance included in your quoted price. Go over it and you pay a per-ton charge on the difference, which shows up on the final invoice whether you expected it or not.
Why heavy and prohibited materials cause the biggest surprises
Remodeling debris varies wildly in density. A container full of drywall, trim, and cabinetry rarely comes close to the weight cap. The same container half-filled with tile, plaster, or wet lumber can exceed it. That’s why materials like brick, concrete, dirt, sod, and yard waste are typically restricted or prohibited in a standard remodel box—they’re heavy enough to push a load over legal road weight, and dirt and yard waste often have to be processed separately at the disposal facility. Mixing them in can mean:
- Extra per-ton charges tacked onto the final ticket
- A refused pickup until the prohibited material is removed
- Contamination fees if the facility has to sort the load
If your project involves masonry, a patio tear-out, or excavation spoils, ask about a dedicated heavy-debris container instead of mixing everything into one box. A provider offering 20 yard dumpster rental in Amityville can walk you through what’s allowed in a standard load versus what needs its own container.
The habits that keep the final ticket at the quoted price
- Stage before you load. Sort debris into heavy, bulky, and light piles on site. You’ll load a 20 yard dumpster more evenly and spot problem materials before they go in.
- Cap the heavy stuff. If any dense material is permitted, keep it to a shallow layer on the floor rather than a concentrated section.
- Schedule around weight, not just volume. If the box feels heavy but looks half full, call for a swap instead of topping it off.
- Keep everything below the rim. A level load is a legal load, and it never gets left in your driveway.
Weight allowances and prohibited-item lists vary by hauler and by town, so confirm the specifics before your first load goes in. A company handling roll off dumpster rental in Commack can tell you exactly what your quote includes so there’s no guesswork at pickup time.
What Fall Loading Mistakes Cost NY Crews the Most?
The costliest fall mistakes are leaving a dumpster uncovered in the rain, letting fallen leaves mix into the load, and allowing wind to scatter lightweight debris. Rain-soaked drywall and lumber can add hundreds of pounds to your final weight, while leaves count as prohibited yard waste—both can trigger extra charges you never budgeted for.
Fall on Long Island brings nor’easters, wet weeks, and heavy leaf drop—all of which quietly work against your weight allowance. If you’re planning a remodel and want a container sized for the job, a 20 yard dumpster rental in Amityville gives you room to work, but only if you protect what’s inside it from the season.
Rain Turns Your Debris Into Dead Weight
Drywall, plywood, carpet, and dimensional lumber are all absorbent. A load that would have come in under your weight allowance when dry can gain serious poundage after a single overnight storm. Since dumpsters are weighed at the transfer station, you pay for that water. The EPA’s guidance on construction and demolition materials notes just how much of remodel debris is wood and gypsum—exactly the materials that soak up rain fastest.
Leaves Are Yard Waste, Not Remodel Debris
Most haulers prohibit yard waste in construction dumpsters because it has to be processed separately. In October and November, leaves blow into open containers on their own, and crews sometimes sweep them in without thinking. A few handfuls won’t matter, but a visible layer of leaves and branches can get a load flagged as contaminated. Keep the area around the container blown clear and never use the dumpster as a leaf bin.
Wind Scatters Light Debris—and Your Goodwill
Insulation, plastic sheeting, cardboard, and foam trim are easy to load a 20 yard dumpster with, but fall gusts will lift them right back out. Debris blowing into a neighbor’s yard or the street creates cleanup time, complaints, and in some municipalities, code issues. Load light materials low, weigh them down with heavier debris, or bag them before they go in.
Tarp It Every Night During Fall Storms
The single cheapest fix for all three problems is a heavy-duty tarp secured with bungee cords or ratchet straps each evening. It keeps rain off absorbent materials, keeps leaves out, and keeps light debris in. Check the National Weather Service forecast daily during your project—if rain or high winds are coming, tarp before you leave the site, not after.
Fall timing also matters for delivery and pickup. Scheduling your swap-out before a storm window—something crews arranging roll off dumpster rental in West Babylon do routinely—means a full, dry container leaves the site instead of sitting through a soaking weekend and gaining water weight you’ll pay for later.
Roughly 110–130 33-gallon trash bags of debris
Typical 20 yard dumpster capacity
Often in the range of 2–3 tons, varies by hauler
Common included weight allowance
Debris must sit at or below the top rail — no exceptions
Fill rule at pickup
Disassembling cabinets and furniture can meaningfully increase usable volume, often by a third or more
Space saved by breaking down bulky items
How to Load a 20 Yard Dumpster: Debris Type and Loading Strategy
| Debris Type | Prep Before Loading | Where It Goes in the Dumpster | Why It Matters |
|---|---|---|---|
| Drywall & plaster | Break into flat, stackable sheets | Bottom layer, laid flat | Dense material stays low and stable, maximizing space above |
| Cabinets & built-ins | Disassemble doors, shelves, and boxes | Middle layer, nested together | Whole cabinets trap empty air and waste volume |
| Lumber & framing | Cut long pieces to fit, remove or bend nails | Stacked lengthwise along the sides | Prevents pieces from sticking above the rail |
| Tile, brick, or concrete | Load in small batches, check weight limits | Spread evenly across the floor | Heavy debris concentrated in one spot can exceed axle and tonnage limits |
| Insulation & light debris | Bag it to keep it contained | Top layer, filling gaps | Fills voids without adding meaningful weight |
Illustrative Example: A Kitchen Gut in Westchester
Illustrative example
Consider a hypothetical, composite scenario: a small contracting crew handling a full kitchen remodel in Westchester rents a single 20 yard dumpster expecting it to cover the whole job. Instead of tossing cabinets whole, the crew removes doors and breaks down the boxes, lays demolished drywall flat on the dumpster floor, and spreads the old tile floor debris evenly rather than piling it in one corner. As the load builds, they slot cut-down lumber along the sides and use bagged insulation to fill remaining gaps. By the end of demo, everything fits below the top rail in one container, and the load stays within the rental's weight allowance — avoiding both an overage fee and the cost and delay of ordering a second haul.
Frequently asked questions
What is the best way to load a 20 yard dumpster during a remodel?
Start with flat, heavy items like drywall sheets, plywood, and doors laid across the bottom, then place bulky items like cabinets and fixtures next, breaking them down first. Fill gaps with smaller debris as you go so nothing wastes space. Keep the load level and below the top rail, and distribute weight evenly front to back so the truck can haul it safely without a redistribution charge.
How much does it cost if I go over the weight limit on a 20 yard dumpster?
Most haulers charge an overage fee billed per ton over your included weight allowance, and it's usually spelled out in your rental agreement. Rates vary by company and region, so ask for the per-ton overage rate in writing before you book. Heavy materials like plaster, tile, and concrete are the usual culprits, so if your remodel involves a lot of them, ask about a heavy-debris dumpster instead.
Why do dumpsters fill up faster than expected during a remodeling project?
The biggest reason is air pockets. Cabinets tossed in whole, doors leaned at angles, and furniture left intact can eat up a third of the container without adding much actual debris. Demolition also generates more volume than people expect once walls, flooring, and fixtures come apart. Breaking everything down flat and loading in layers can recover a surprising amount of capacity from the same box.
Should I break down cabinets and furniture before putting them in a dumpster?
Yes, almost always. A cabinet thrown in whole is mostly empty air, and a few intact pieces can dominate the container. Unscrew or knock apart cabinet boxes so they stack flat, remove doors and drawers, and break furniture frames down where practical. Ten or fifteen minutes with a drill and a sledgehammer can save you from needing a second haul, which typically costs far more than the labor.
What can't I put in a 20 yard dumpster during a remodel?
Most haulers prohibit hazardous materials such as paint, solvents, adhesives, batteries, propane tanks, and anything containing asbestos or refrigerants. Tires, appliances with Freon, and electronics are often restricted or carry extra fees. Rules vary by company and by local regulations, so review the prohibited items list in your rental agreement before demo day. Putting banned items in the box can trigger contamination fees or a refused pickup.
How long does it take to fill a 20 yard dumpster on a home remodel?
It depends on the scope and crew size. A full kitchen or bathroom gut with a small crew often fills one over a few days of active demolition, while a whole-home remodel may fill it in a day or two. Plan your rental window around your demo schedule rather than the whole project, and ask your hauler how swaps or extensions work if the timeline slips.
Is it cheaper to get one 30 yard dumpster or two 20 yard dumpsters?
A single larger dumpster is usually cheaper than two hauls of a smaller one, since each pull includes delivery, pickup, and disposal costs. But if your debris is heavy — plaster, tile, roofing — the weight limit matters more than the volume, and two smaller loads may be the only safe option. Describe your materials to the hauler and let them price both scenarios before you decide.
What happens if I overfill a dumpster past the top?
The driver can legally refuse to haul a container loaded above the rim, because tarping and transporting an overfilled box is unsafe and often violates road regulations. You'll either pay a trip fee for the failed pickup or be asked to remove debris until the load is level. Some haulers offload the excess and charge for the labor. Loading flat and level from the start avoids all of it.
Can I put heavy materials like tile, plaster, or concrete in a 20 yard dumpster?
You can, but with caution. Dense materials hit the weight limit long before the container looks full, which is how remodels rack up overage fees. Many haulers offer smaller, heavy-debris containers rated for concrete, brick, and dirt, sometimes with a fill-line restriction. If your remodel mixes heavy and light debris, tell your hauler upfront — they may recommend separating the heavy material into its own load.
What are the most common mistakes people make when loading a rental dumpster?
The big ones: tossing bulky items in whole instead of breaking them down, loading heavy debris on one side so the container can't be lifted safely, piling above the rim, throwing in prohibited items that trigger fees, and ordering the container before demo starts so it sits idle burning rental days. Planning the load order — flat and heavy first, bulky next, loose fill last — prevents most of them.
Related local pages
- Dumpster Rental Amityville New York
- Dumpster Rental West Babylon New York
- Dumpster Rental West Islip New York
Remodeling this fall? Reserve your 20 yard dumpster today and get straight answers on weight limits, placement, and pickup timing—call us or book online for fast delivery anywhere in NY. Get in touch.
Last updated: September 16, 2026
Recent Comments